
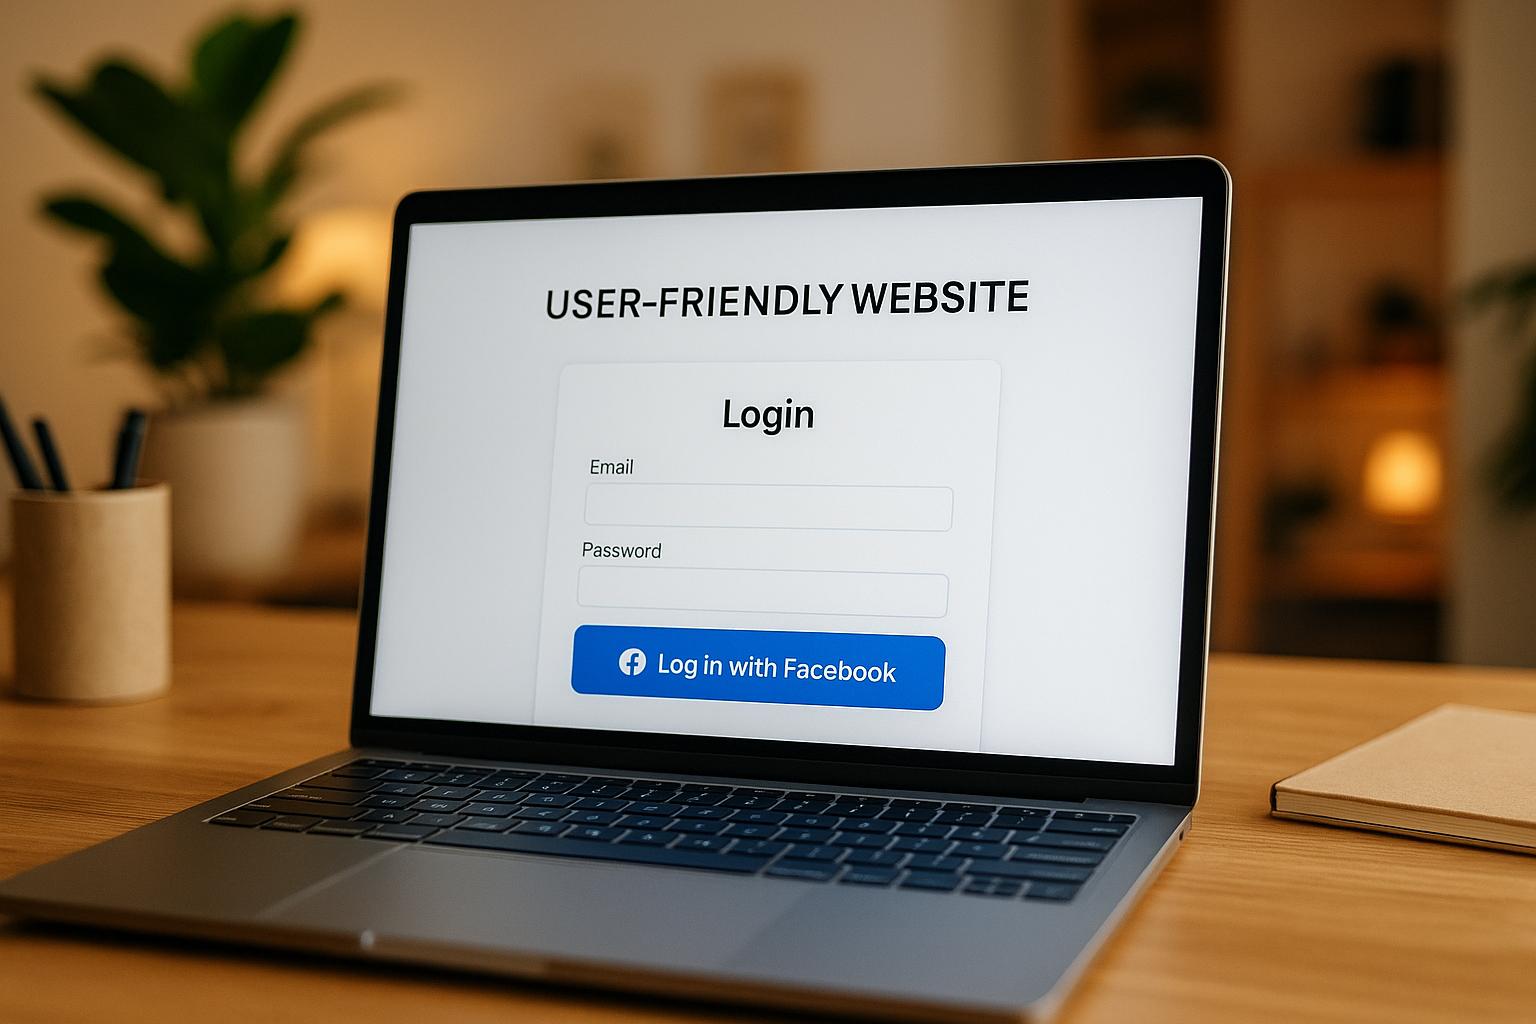
Want to make logging into your no-code website easier for users? Adding Facebook Login is a simple way to let visitors sign in using their existing Facebook credentials. This saves them from creating yet another account and improves their overall experience.
Here’s the quick breakdown of how it works:
- Users click a Facebook Login button on your site.
- They’re redirected to Facebook to confirm their identity.
- Once verified, they’re sent back to your site with their basic profile info ready to go.
Why use Facebook Login?
- Boost conversions: Skyscanner saw a 100% increase in sign-ups after implementing it.
- Enhanced security: Facebook handles passwords, reducing risks for your site.
- Faster setup: Tools like Lideroo let you integrate it without writing code.
To get started, you’ll need:
- A Facebook Developer account.
- A Facebook App linked to your website.
- Integration settings in your no-code platform.
This guide walks you through the entire process, from setup to testing, and even managing user roles. Ready to simplify logins for your audience? Let’s dive in.
Facebook Login Setup: What You Need Before Starting
Before diving into Facebook Login integration, you'll need to complete a few essential steps on the Facebook Developers platform to secure the credentials required for a seamless setup.
Creating a Facebook Developer Account
Start by registering as a Meta developer on the Facebook Developers website. Click "Get Started" and follow the prompts. You'll need to agree to Facebook's platform terms and developer policies, then verify your account by providing your phone number and email address. Additionally, you'll be asked to select your occupation during the registration process. [1]
Setting Up Your Facebook App
Next, create your Facebook App on the Facebook Developers site. Choose an app name that aligns with your website or business, and provide a contact email. When prompted, select the use case "Authenticate and request data from users with Facebook Login" to configure your app for login functionality. [3][4]
To prepare your app for live use, make sure to:
- Add your website's domain to the "Allowed Domains for the JavaScript SDK."
- Provide URLs for your Privacy Policy, Terms of Service, and User Data Deletion pages. These are mandatory before your app can go live. [2][5]
- Use HTTPS for your website, as Facebook does not support non-secure protocols.
In the Facebook Login product settings:
- Choose "Web" as your platform.
- Enter your website's URL.
- Add the login, registration, and account-related URIs under "Valid OAuth redirect URIs" in the Client OAuth Settings.
Lastly, include the "public_profile" and "email" permissions in your app settings to request the necessary user data. [3][5]
Finding Your App Credentials
Your App ID and App Secret are the two key credentials required to connect Facebook Login to your website. To retrieve them:
- Log into the Facebook Developers website.
- Select your app from the "My Apps" menu.
- Navigate to Settings > Basic.
Here, you'll see your App ID displayed prominently. Your App Secret, however, is hidden by default. To reveal it, click the "Show" button and, if prompted, enter your Facebook password. [6][7][8]
Copy these credentials, but handle them with care. Meta's documentation stresses the importance of securing your App Secret:
"Your app secret is used in some of the Facebook Login flows to generate an App access token which can make API requests on behalf of any user of the app. It is extremely important that an App Secret be stored securely and not be included in any code that could be accessed by anyone other than a developer of the app." [6]
If your App Secret is ever compromised, reset it immediately through the App Dashboard. Never include it in client-side code to avoid exposure.
Once you've secured your credentials, you're ready to integrate them into your platform. For example, if you're using a no-code tool like Lideroo, you can easily input these credentials through its user-friendly integration settings. The next section will guide you through the actual process of implementing Facebook Login.
Adding Facebook Login to Your No-Code Website
Once you've retrieved your Facebook App credentials, it's time to integrate them into your no-code platform. This step will provide your users with a secure and hassle-free way to log in to your website.
Finding the Integration Settings
Start by navigating to the Authentication or User Management section in your website's dashboard. Look for options like Social Login or Third-Party Authentication - this is where you'll manage external login providers, including Facebook.
Here, you'll find toggle switches and input fields for various social login options. Facebook Login is typically one of the primary choices, thanks to its popularity among users.
Adding Your Facebook App Credentials
Once you've enabled Facebook Login, you'll need to provide two key pieces of information: your App ID and App Secret.
- App ID: Head to the Facebook Developers dashboard, copy your App ID, and paste it into the appropriate field. This ID is public and can safely be included in client-side code.
- App Secret: Paste the secret key you revealed earlier into the designated field. Most platforms, like Lideroo, will automatically mask this sensitive information to keep it secure.
Next, configure the permissions your app will request. Select "public_profile" and "email" as these are essential for user registration and identification. The public profile permission grants access to the user's name and profile picture, while the email permission allows for account-related communications. These permissions are common and unlikely to deter users from logging in.
With your credentials entered and permissions configured, you're ready to move on to setting up the login button.
Setting Up the Login Button
Using Lideroo's drag-and-drop editor, you can easily design and position your Facebook Login button. Navigate to the page where you'd like the login option to appear - this is often the homepage, registration page, or a dedicated login page. From the elements panel, drag the Social Login component to your chosen spot.
Customize the button's text and size according to Facebook's branding guidelines. Use labels like "Continue with Facebook" for new user sign-ups or "Login with Facebook" for returning users. Stick to Facebook's signature blue color (#5890FF) with white text, or use the approved black-and-white version for consistency and recognition.
Position the button prominently so users can easily find it, regardless of the device they're using. The familiar Facebook branding and colors help users quickly identify the login option.
Once you've finalized the button's appearance and placement, save your changes. At this point, the integration is complete, and your website visitors can log in using their Facebook accounts. Before going live, make sure to test the setup thoroughly to ensure everything works as expected.
Testing and Fixing Facebook Login Issues
Ensuring the Facebook Login process runs smoothly is critical. A hassle-free login experience can mean the difference between gaining a new user or losing them to a competitor. This step is a key part of completing the secure integration process discussed earlier.
Testing the Login Process
Set up a dedicated test environment to avoid interfering with your live website while you verify the login system. Use a Facebook test account to simulate a first-time login experience.
Before starting each test, remove your app from the test user's Facebook account. You can do this by navigating to Settings & Privacy > Settings > Apps and Websites and deleting your app from the list. This ensures you're testing the full first-time login experience, rather than a cached version.
As you test, cover a variety of scenarios to catch potential issues:
- First-Time Login: Check that a new user's profile information and email address are correctly captured and stored in your system.
- Returning User Login: Ensure the process is quicker than the initial registration.
- Edge Cases: Test situations like canceling the Facebook Login midway and retrying, or logging in after the user changes their Facebook password. These scenarios can reveal session handling issues.
Facebook provides three connection statuses you’ll need to handle effectively:
- Connected: The user is logged into both Facebook and your app.
- Not_Authorized: The user is logged into Facebook but not yet connected to your app.
- Unknown: The user is either not logged into Facebook or their connection status is unclear.
Your login button should respond appropriately to each of these statuses. Once testing is complete, address any issues you uncover.
Fixing Common Problems
Some common issues may arise during testing, but most can be resolved with a few adjustments:
Invalid App ID Error: This usually means the App ID in your code doesn’t match the one in Facebook’s dashboard. Double-check for typos or extra spaces.
Redirect URI Mismatch: This occurs when Facebook doesn’t recognize the URL your app uses to redirect users after login. Make sure the OAuth redirect domain in your Facebook App settings matches your website’s domain exactly, including protocol, subdomains, and trailing slashes. If you’re using a development site, add both your live and test domains to Facebook’s approved redirect list.
Network Issues: Timeouts or connection errors may happen due to unstable internet, outdated browsers, or browser extensions like ad blockers. While you can’t control these factors, provide helpful error messages suggesting solutions like clearing the browser cache or disabling extensions temporarily.
Cache Problems: Cached data, especially after changes to your Facebook App settings, can cause login failures. Similarly, users’ browsers might store outdated authentication tokens, leading to errors.
Server-Side Issues: Facebook outages, though rare, can disrupt login functionality. If users report widespread problems, check Facebook’s status page or third-party monitoring sites like Downdetector. In such cases, display a clear message explaining the issue and, if possible, offer alternative login methods.
Two-Factor Authentication Issues: Users might face problems receiving SMS codes due to carrier blocking or outdated phone numbers in their Facebook settings. While you can’t resolve these directly, providing clear instructions and alternative contact options can help users troubleshoot on their own.
sbb-itb-dfa823a
Setting Up User Roles and Access Control
After enabling Facebook Login on your site, it's time to fine-tune user access by defining roles and permissions. This step is crucial for managing what different users can see and do on your platform. By assigning specific roles, you can ensure visitors, members, and administrators have the right level of access while preventing unauthorized use.
Assigning Roles to New Users
When users log in through Facebook for the first time, Lideroo's system automatically creates an account for them. By default, these new users are given basic permissions, which can be customized later.
To manage roles, head to the User Management section in your Lideroo dashboard. Most sites assign new Facebook users the Member role, granting them access to general content while reserving premium features for higher-tier roles. Lideroo provides a set of pre-defined roles - Visitor, Member, Premium Member, Moderator, and Administrator - that you can use to match your site's needs.
Roles can also be assigned based on Facebook profile data. For example, if you're running a business site, employees logging in with their Facebook accounts can be automatically granted specific access. Lideroo captures key profile details during the first login, making it easy to streamline role assignments. Additionally, the system tracks each user's first login and last activity, helping you monitor and manage inactive accounts effectively.
Controlling Access by User Role
Once roles are assigned, you can control what users can access and do on your site. Lideroo's permissions system allows you to restrict or grant access at various levels - entire pages, specific content blocks, or individual features.
Page-Level Restrictions: Use page settings to define who can access specific sections. For instance, you might restrict a "Members Only" area to users with at least the Member role while keeping the homepage open to all Visitors.
Content-Level Permissions: For finer control, you can set access rules for individual content elements within a page. For example, a blog post might show a preview to Visitors, but require a membership to view the full article or download resources.
Feature-Based Permissions: Control what actions users can perform. For example, Members might be allowed to comment on posts and download standard resources, while Premium Members gain access to exclusive downloads and advanced tools. Moderators can manage user-generated content, and Administrators have full control over site settings and user management.
Lideroo enforces a "least privilege" approach, ensuring users only get the access they truly need. As Facebook for Developers explains:
"Permissions are how you ask someone if you can access that data. A person's privacy settings combined with what you ask for will determine what you can access" [9].
You can also implement time-based access controls. For example, if a user subscribes to premium content, their role can automatically downgrade when their subscription ends. With Lideroo's integration with payment systems, this process is handled seamlessly, ensuring content access aligns with active subscriptions.
Finally, it's a good practice to regularly audit user roles. Removing inactive accounts and adjusting permissions helps prevent "permission creep" and keeps your site secure as it scales.
Conclusion
Facebook Login streamlines user interactions by removing the hassle of traditional sign-up processes. To integrate it, you'll need to create a Facebook Developer account, configure app credentials, set up the integration in Lideroo, and assign appropriate user roles and permissions.
The benefits for user experience are hard to ignore. Studies reveal that 54% of users abandon a website instead of completing a registration form, and 86% find filling out forms repeatedly frustrating [12]. Facebook Login addresses these pain points. As Peter Yang from Facebook explains:
"It gives users a simple, fast, and secure way to login to your site. No need for them to remember another username/password combination" [10].
For website owners, the advantages are just as compelling. By leveraging Facebook Login, you avoid the complexity of building and maintaining your own authentication system. Cliff G., a Product Management expert, highlights this:
"Honestly, the biggest advantage is not having to build or implement your own authentication service" [10].
The results speak for themselves. Skyscanner reported a 100% increase in conversions [14], with some sites achieving conversion rates over 80% [13]. Considering that 76% of users drop off when asked to create a password [11], Facebook Login becomes a critical tool for boosting engagement and retention.
With Lideroo, the process is even more seamless. Its built-in user management simplifies everything from setup to ongoing role assignments. Visitors gain instant, hassle-free access, while site owners enjoy enhanced security and actionable user insights.
FAQs
What are the advantages of adding Facebook Login to my no-code website?
Why Add Facebook Login to Your No-Code Website?
Integrating Facebook Login into your no-code website can make life easier for both you and your users. Here’s how:
- Quick and easy login: Users can skip the hassle of creating a new account and log in with just a few clicks. Less friction means more sign-ups.
- Reliable user data: Access verified information like names and email addresses, making it easier to personalize your site’s features.
- Better user engagement: A smooth login process encourages visitors to stay longer and interact more with your website.
- Fewer passwords to remember: Users won’t have to juggle yet another password, making their experience more convenient.
On top of that, Facebook Login simplifies cross-platform access, delivering a seamless experience that keeps users coming back. It’s a smart way to boost engagement and grow your audience.
How can I keep my Facebook App credentials secure during integration?
To keep your Facebook App credentials safe during integration, always make sure your app secret stays hidden from client-side code. A good practice is to store it securely using environment variables or other reliable storage methods. For added protection, use app secret proof - a SHA-256 hash created from your access token and app secret. This adds another layer of defense.
You should also enable two-factor authentication for your Facebook developer account. Stick to best practices for handling tokens, like rotating keys regularly and limiting token exposure. These measures are essential for keeping your credentials secure and protecting user data.
What can I do if users have trouble logging in with Facebook on my website?
If users are having trouble with Facebook Login on your website, you can suggest a few simple troubleshooting steps:
- Clear the browser cache and cookies to eliminate any stored data that might be causing issues.
- Try a different browser or open an incognito window to see if the problem persists.
- Reset the Facebook password if there's a chance the login credentials are incorrect.
- Log in from another device to check if the issue is specific to their current device.
On your side, make sure your Facebook app settings are correctly set up. Double-check details like redirect URLs and permissions to ensure everything aligns with Facebook's requirements. Also, keep an eye out for any Facebook service outages or updates that could be affecting login functionality. Addressing these points often resolves most login problems efficiently.